
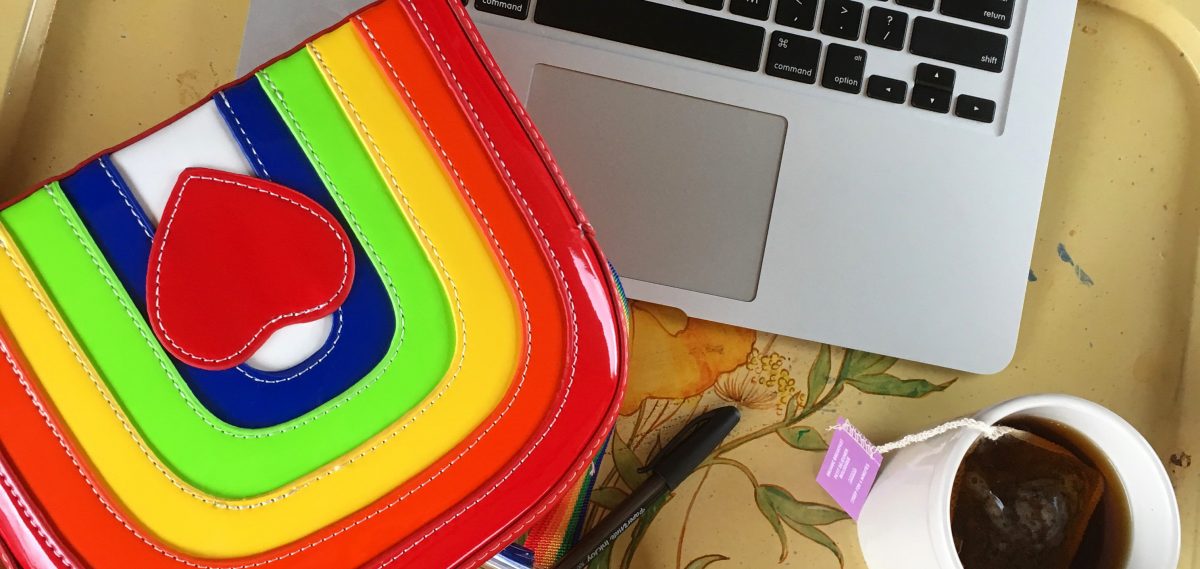

Are you looking for a fun craft to do to get your mind off things? These are the perfect projects to do! I made these DIYs to emphasize that art doesn’t have to be perfect, because mistakes can look unique and on purpose. Take as long as you want, and let your creative juices flow.
- Painted Jeans
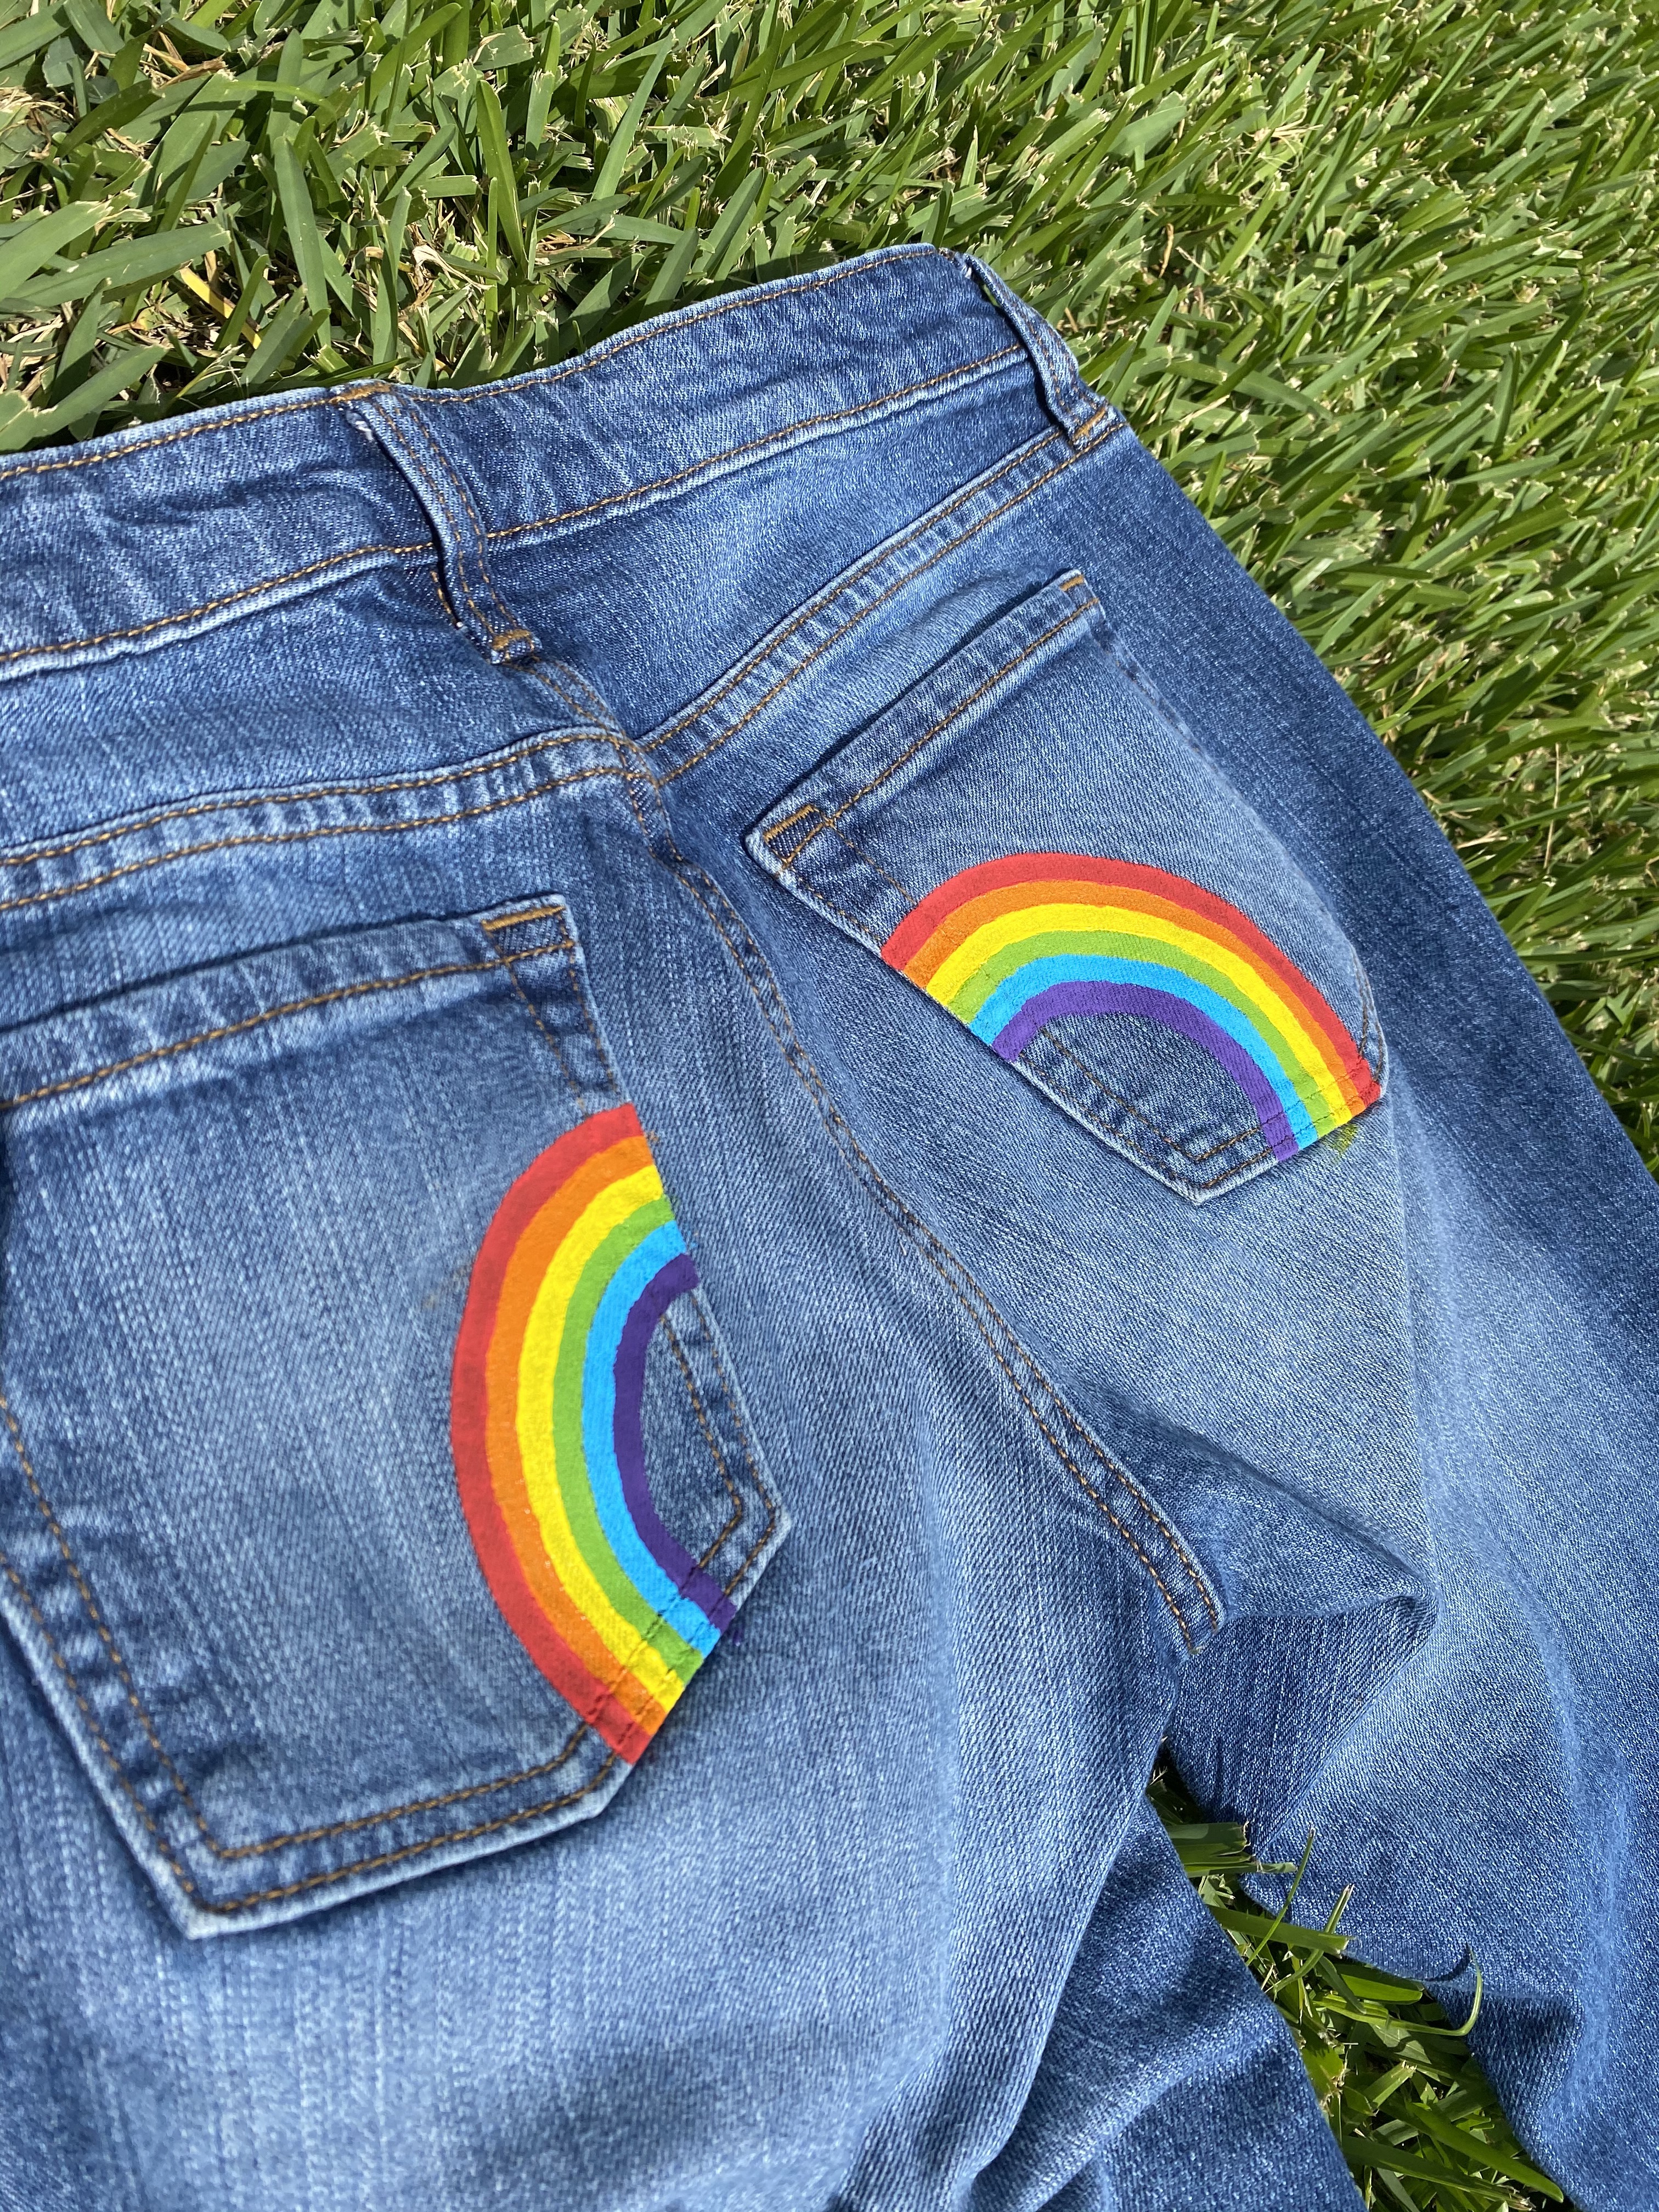
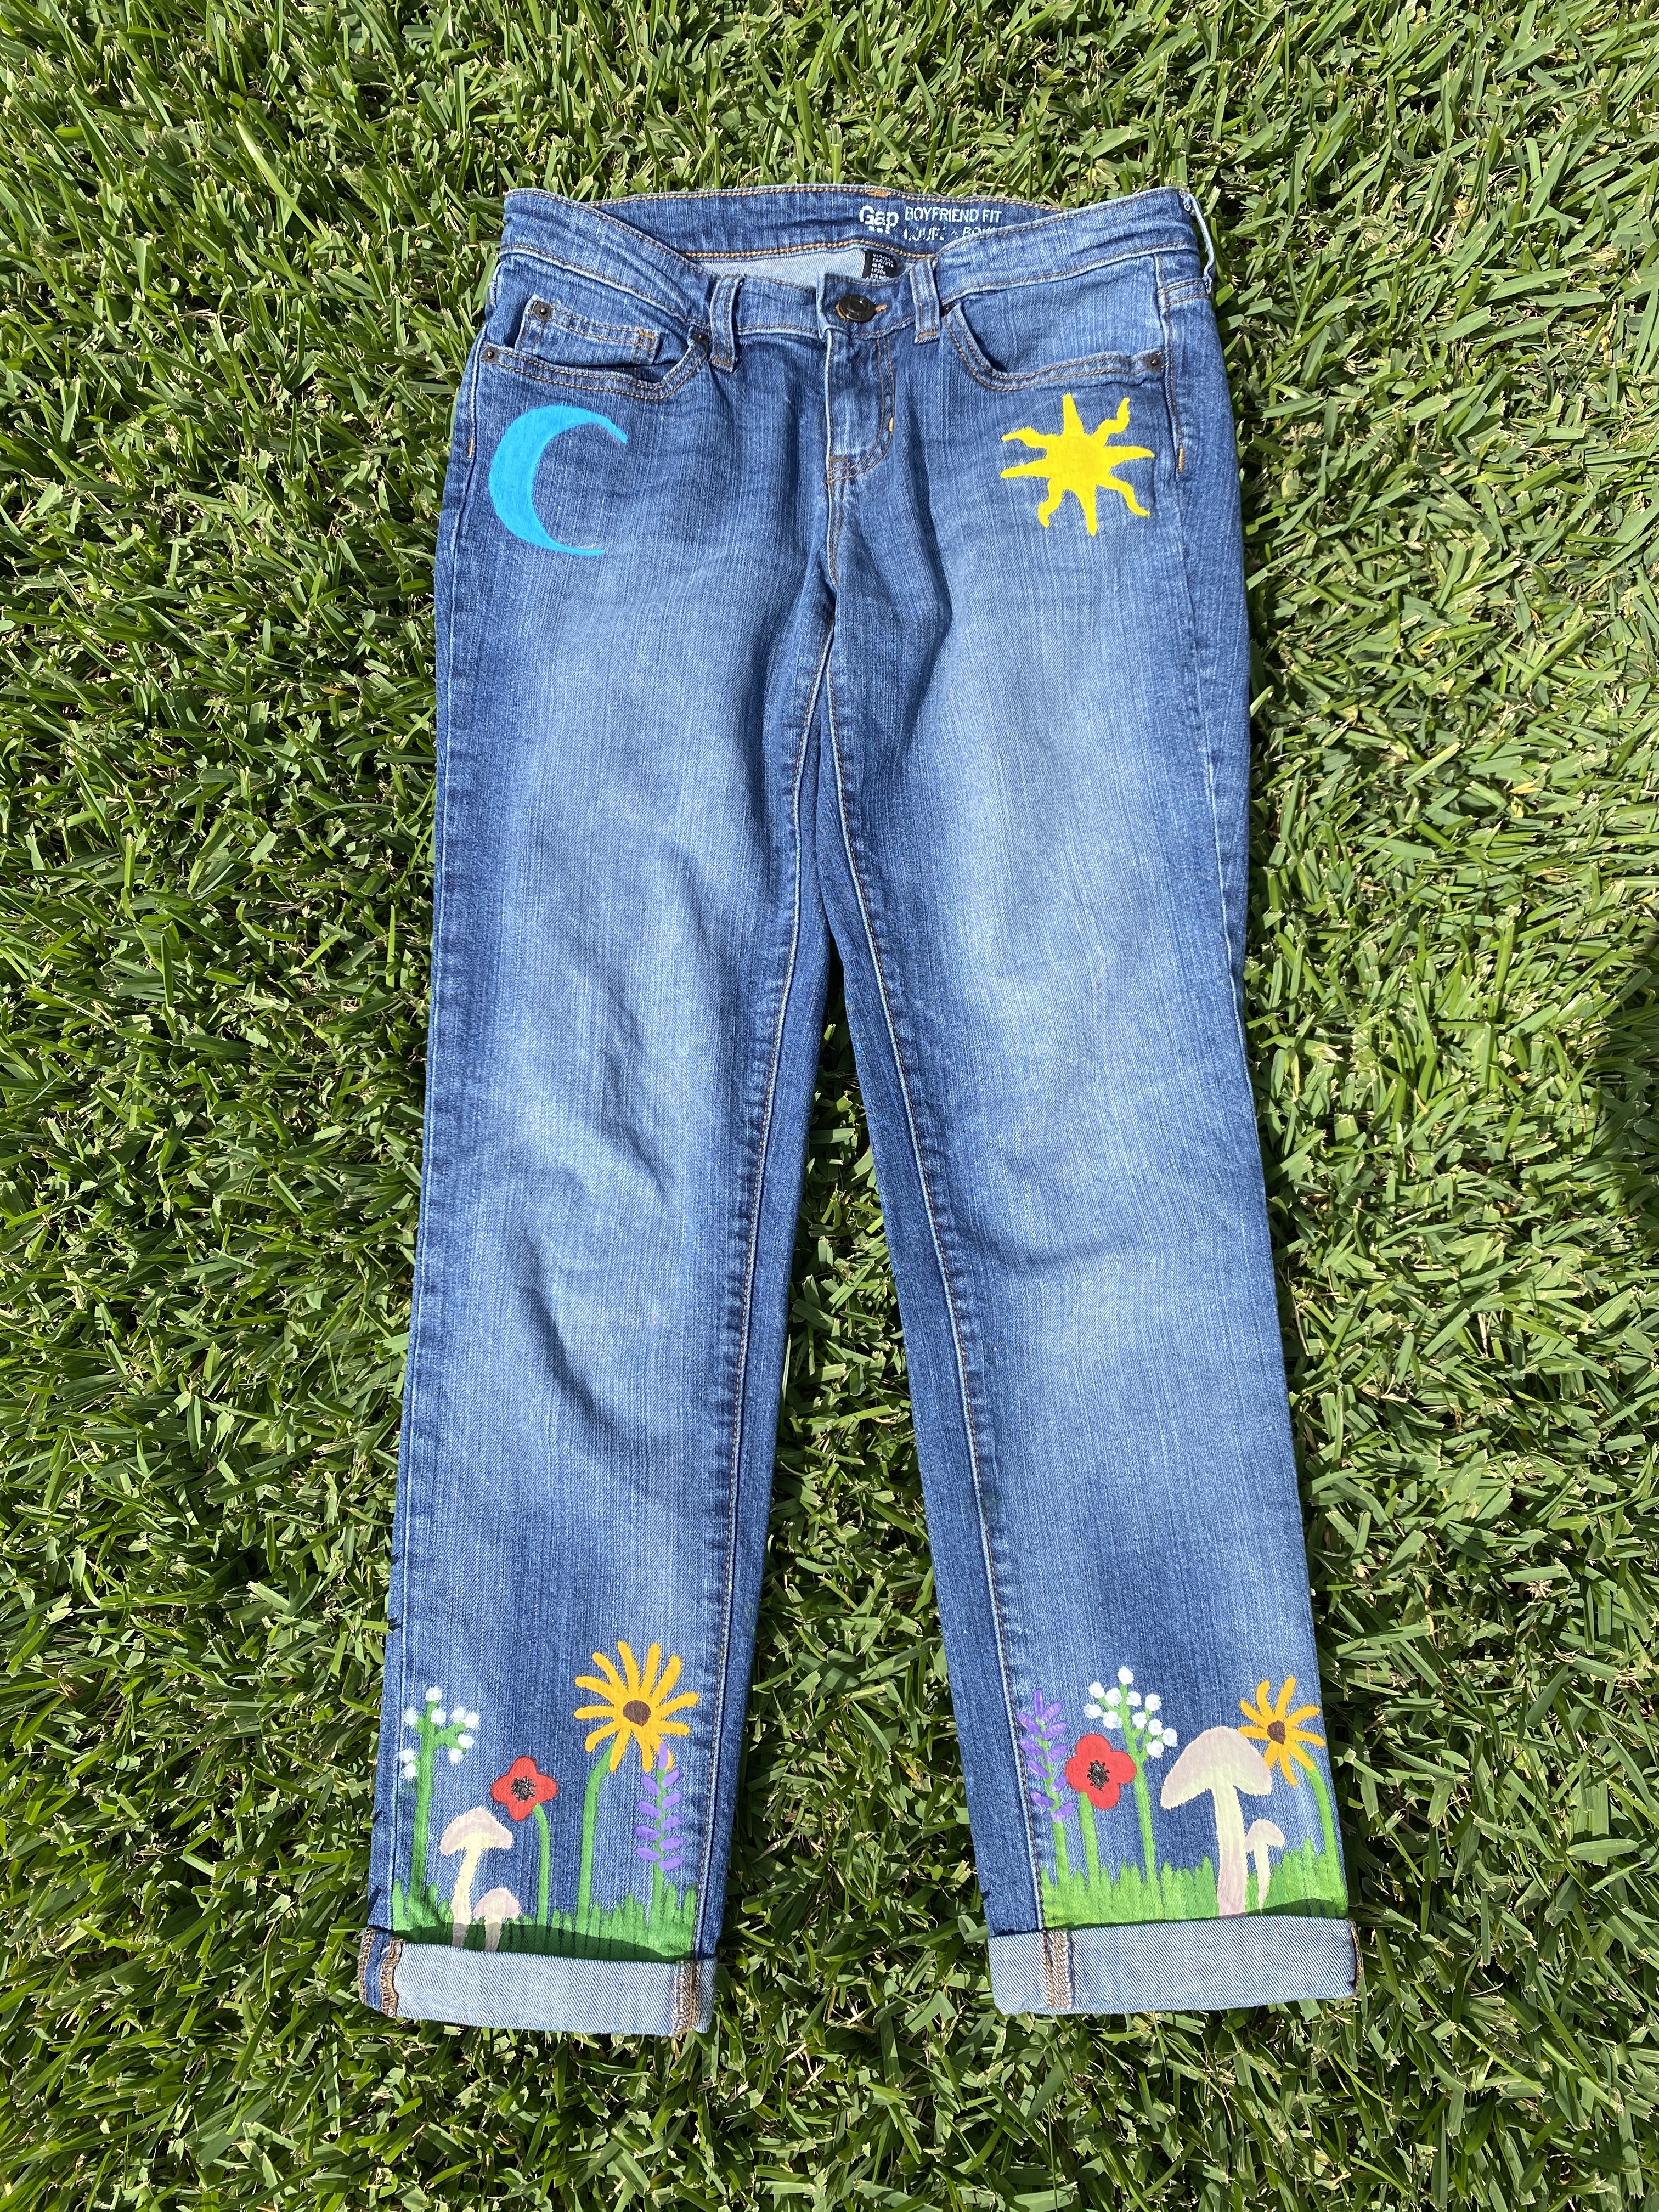
- Step 1: Find what clothes you’re okay with painting! These jeans are a hand-me-down from my mom’s coworker who always gives me the nicest things.
- Step 2: Sketch out a design. I drew the front and back of my jeans on a piece of paper.
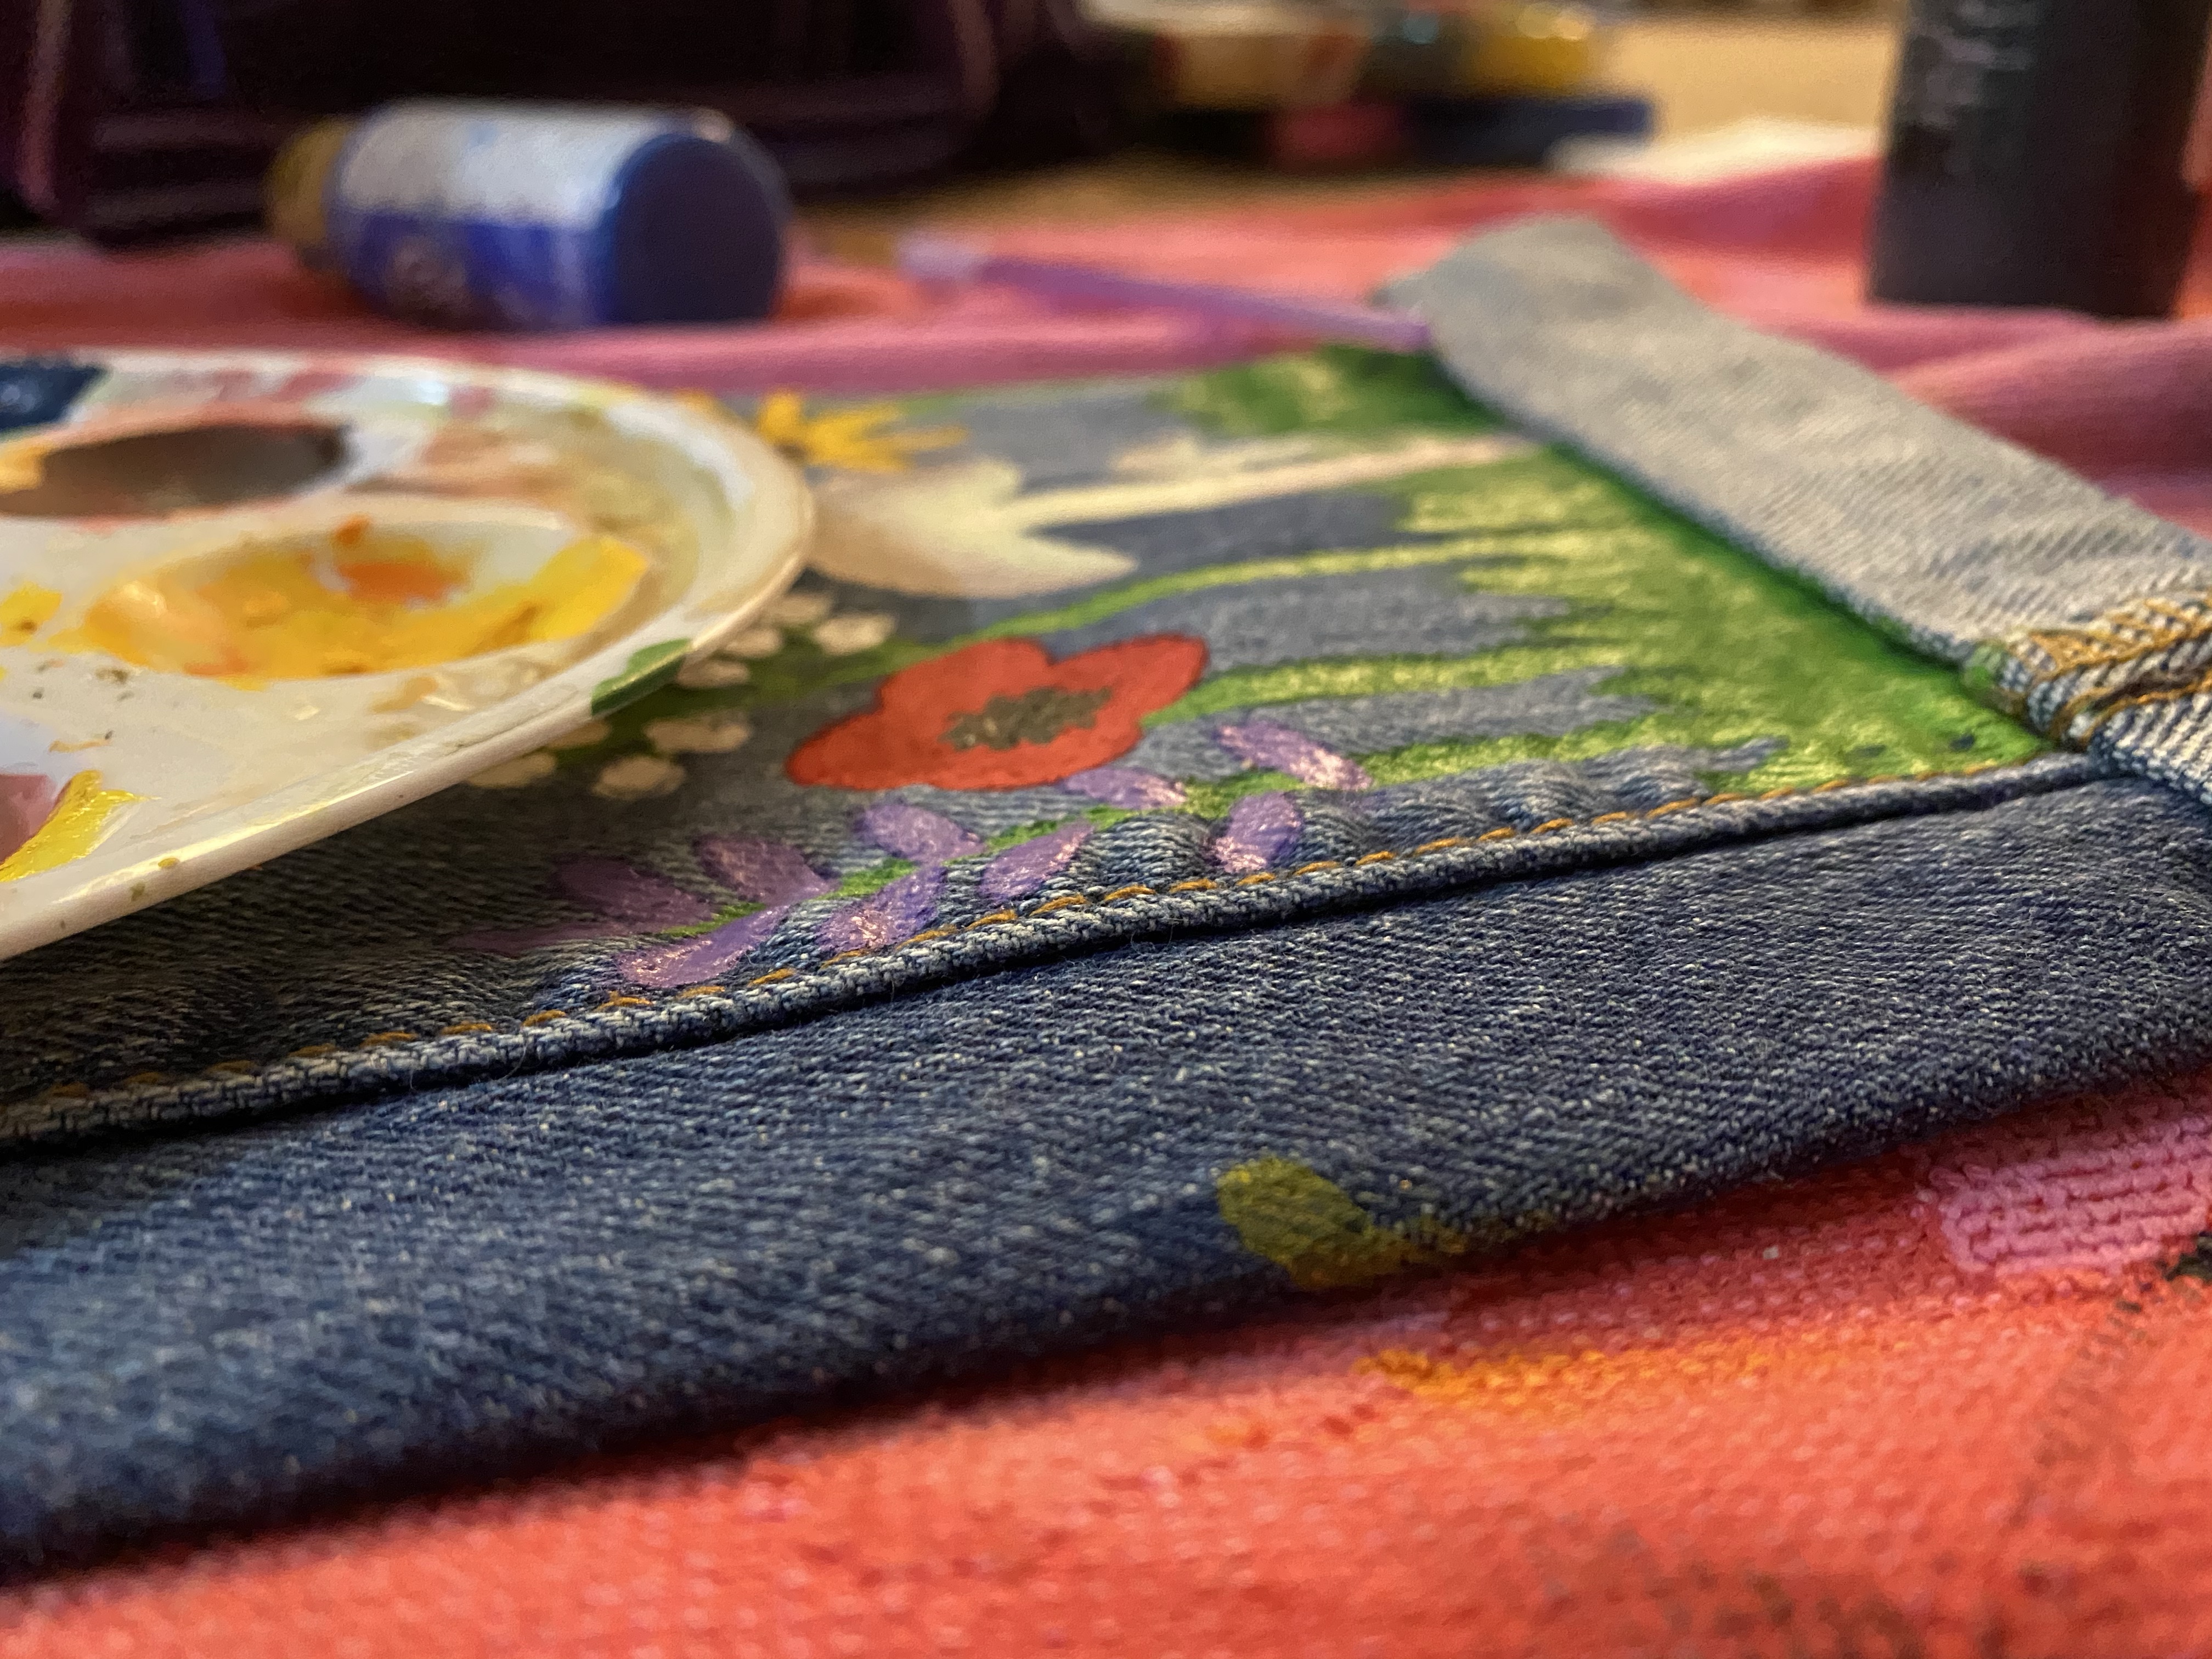
- Step 3: Gather your needed supplies. Here’s what you need: something to paint on top of (towels or newspaper), acrylic paint, something to put paint on (paint palette or plate), paint brushes, and something to trace your designs with (fabric chalk or pencil).
- Step 4: Sketch out your designs onto the jeans. I used images from Pinterest as loose references for what I wanted. It’s important to sketch with something you can wipe off or erase, because I messed up a couple times.
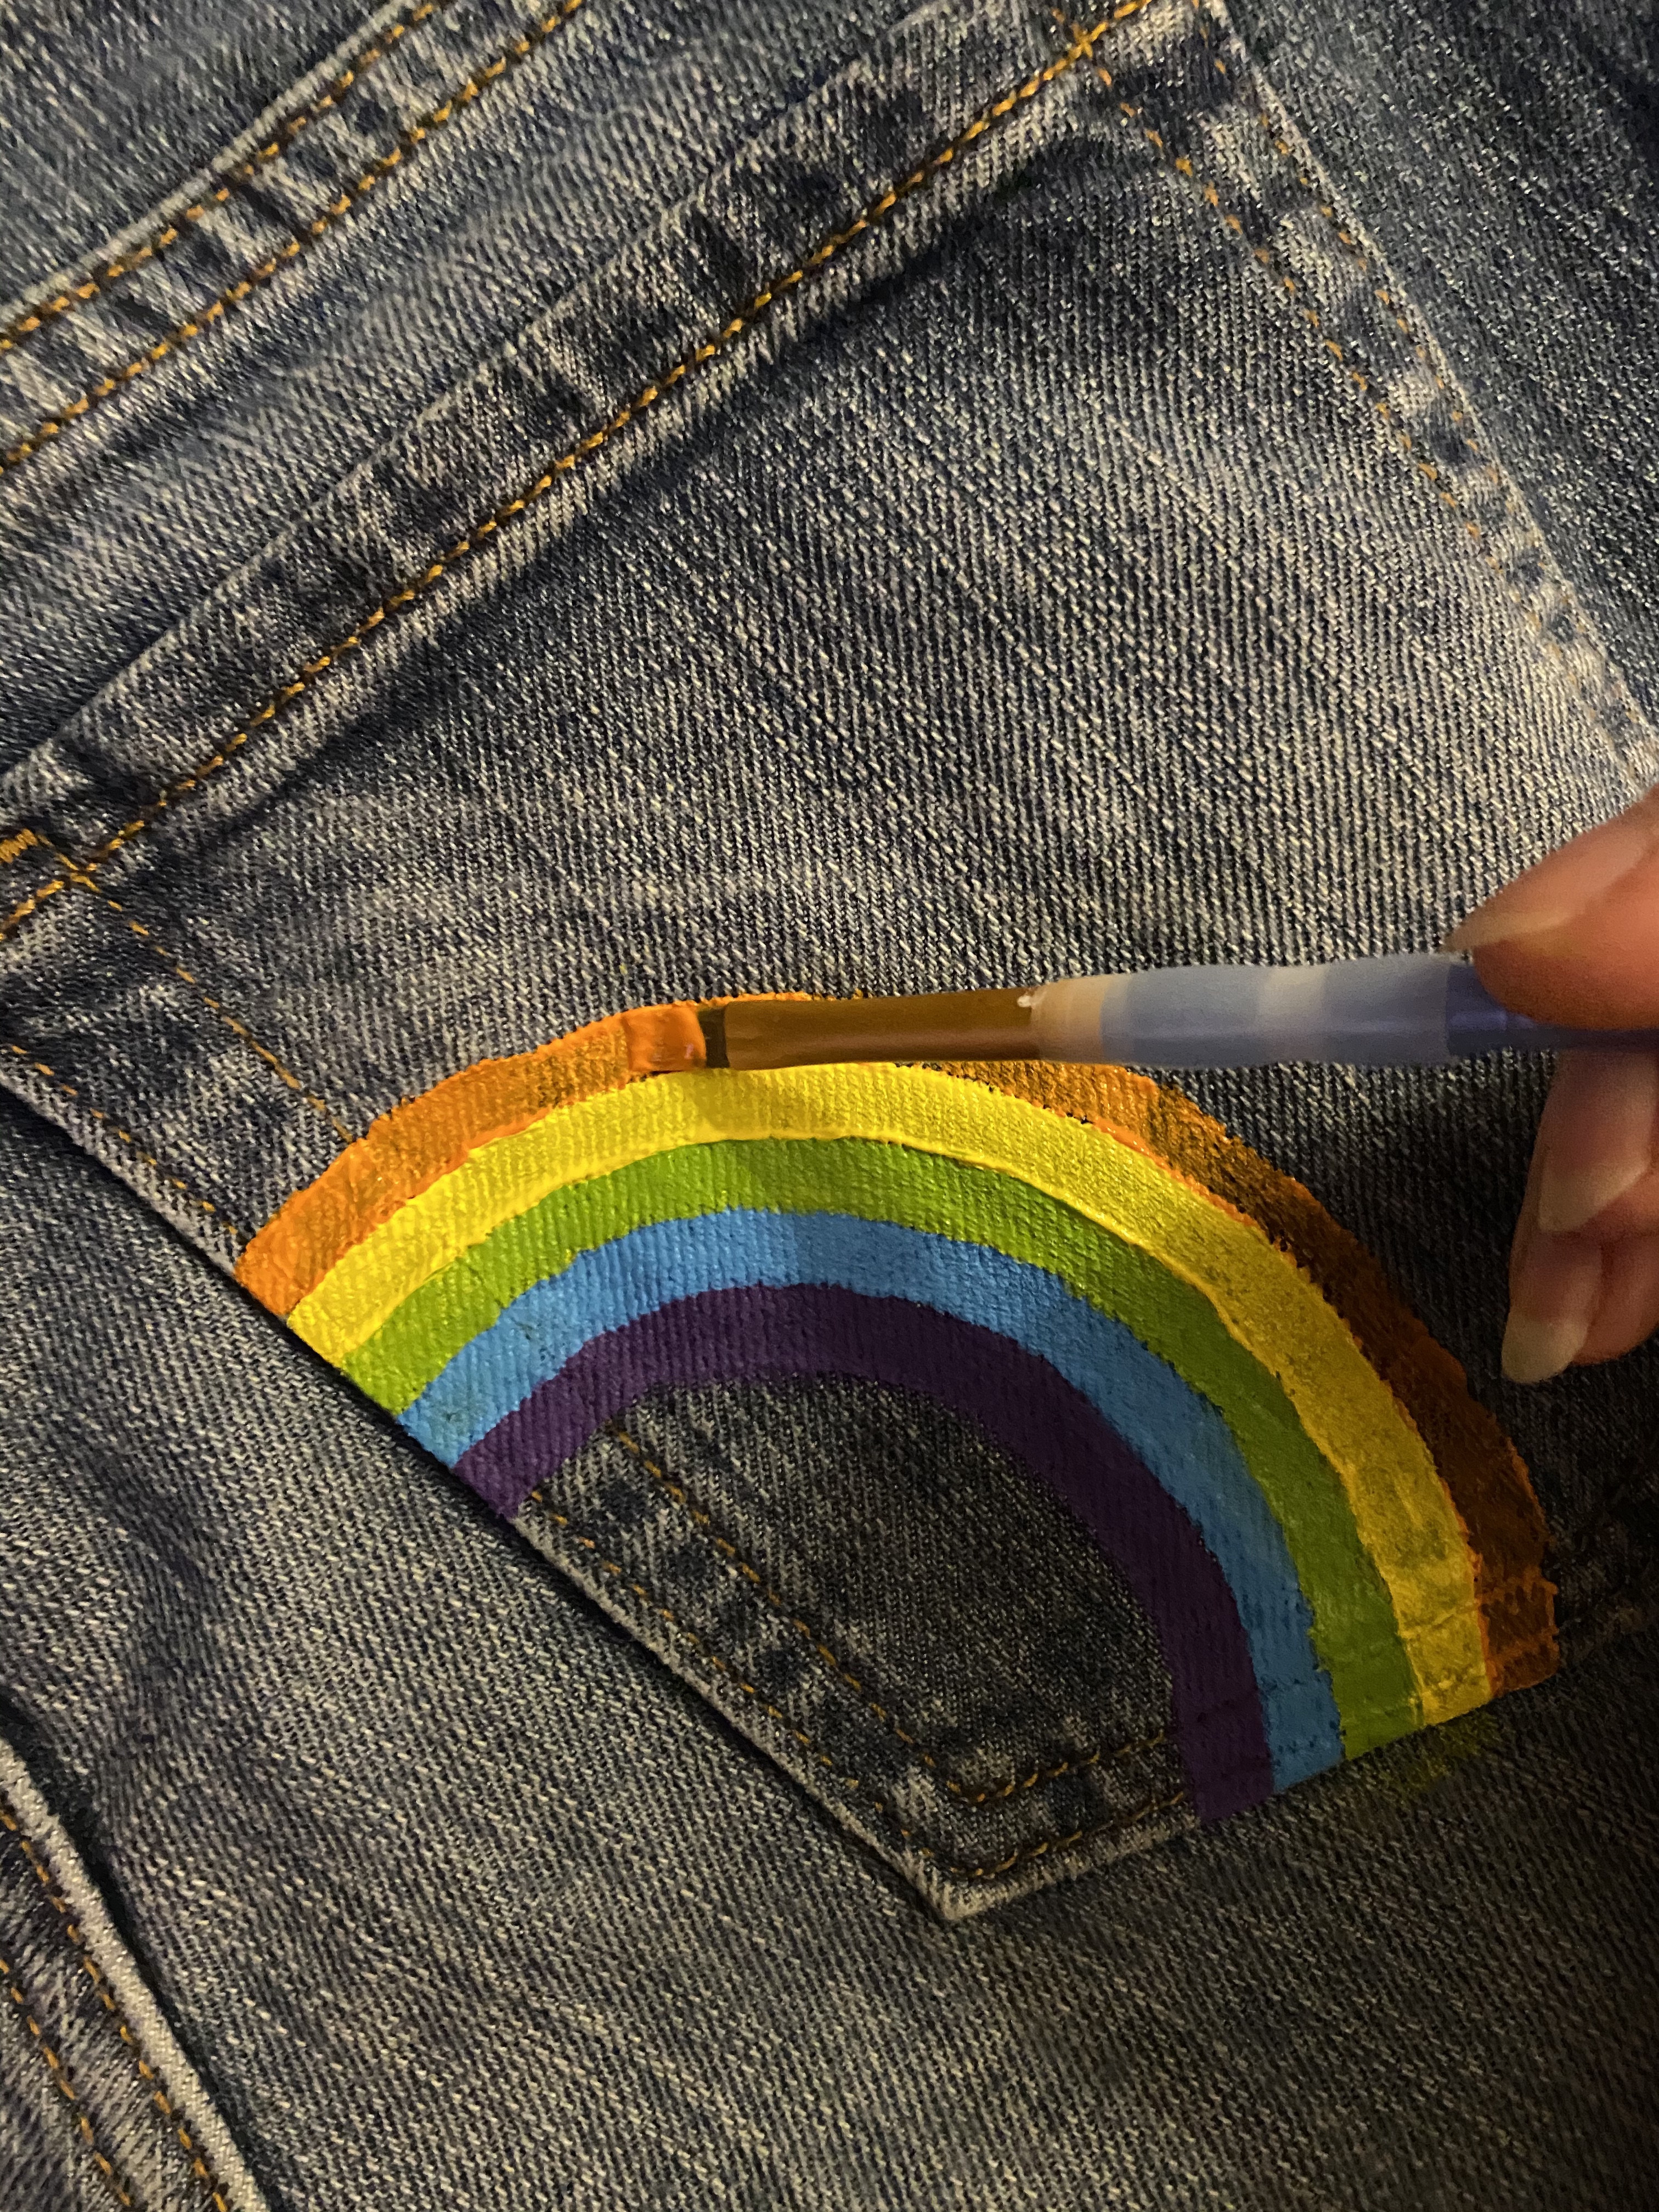
- Step 5: Paint! Be patient with how many layers you have to do. I couldn’t find white paint, but you could add a white base coat if you want your art to stand out better and faster. What’s my secret trick? Use a paintbrush that matches the shape of your design, such as using a flat brush to paint the rainbow’s lines.
- Dried Flowers
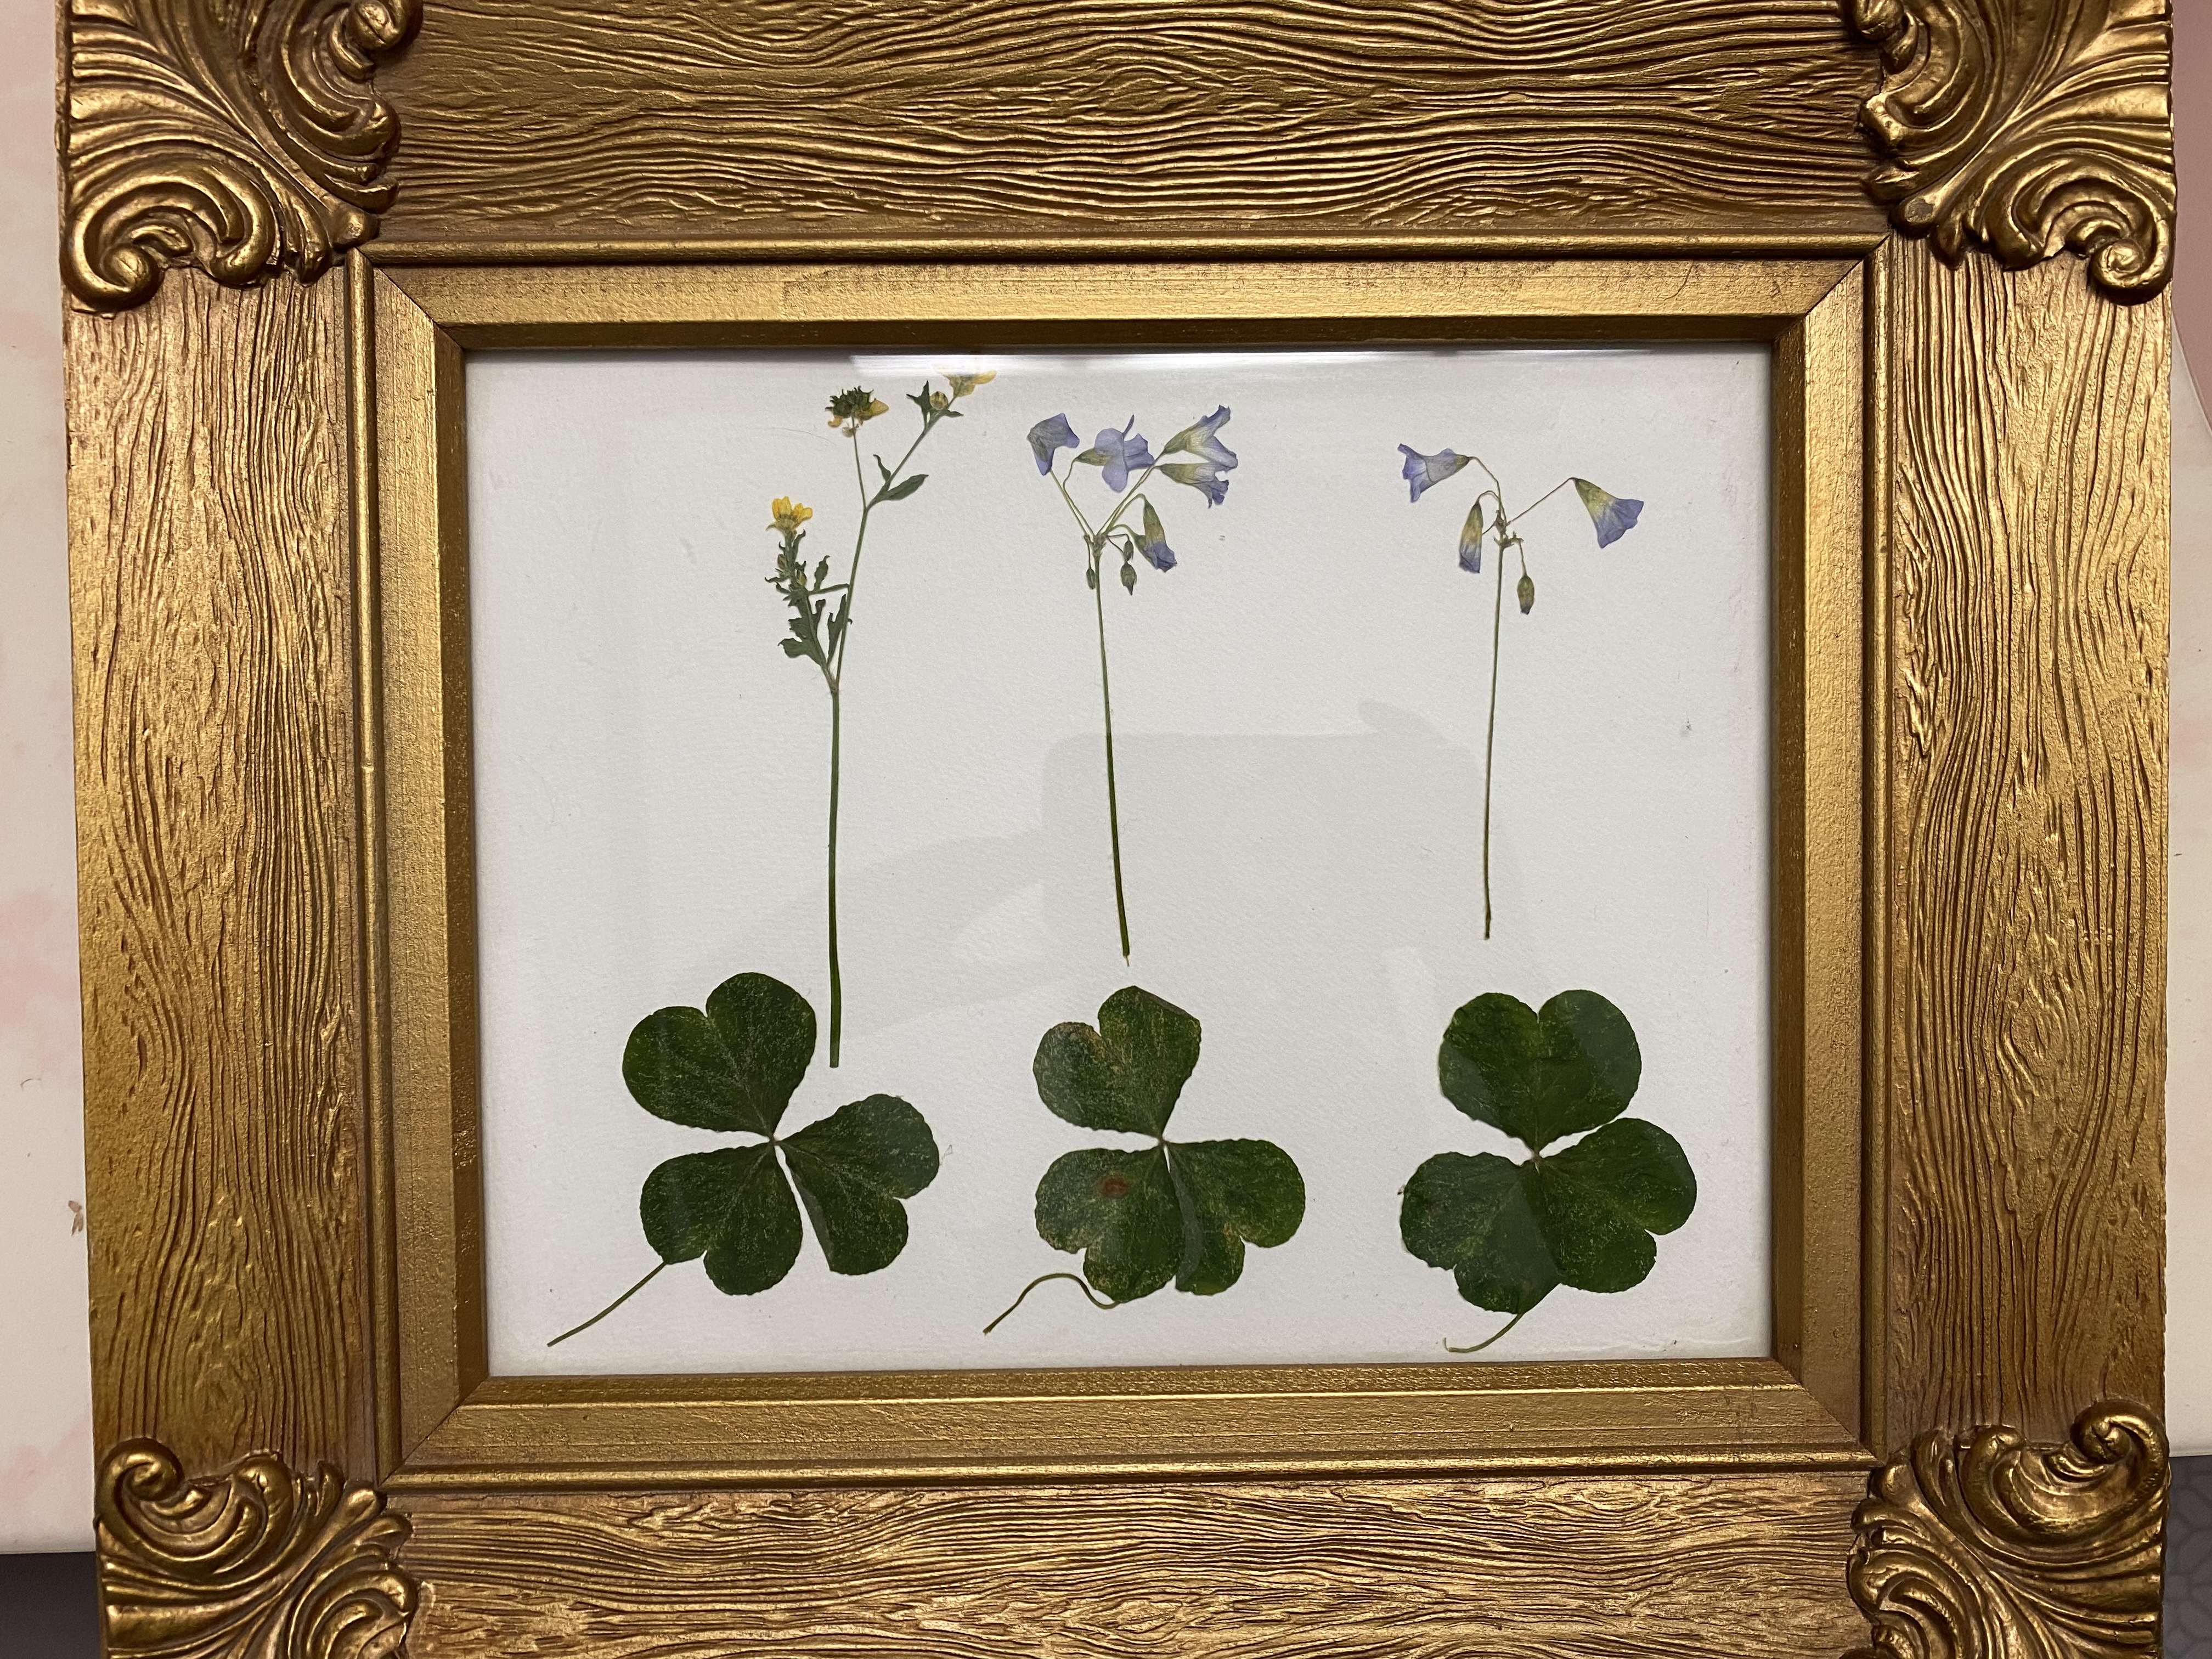
- Option 1: Pick flowers or plants, and place them in a book to dry. Frame them. Simple and beautiful.
- Option 2: Pick flowers or plants and some string. Tie it into a bouquet, cut the ends to match each other, and let sit to dry. This gives me cozy cottage vibes.
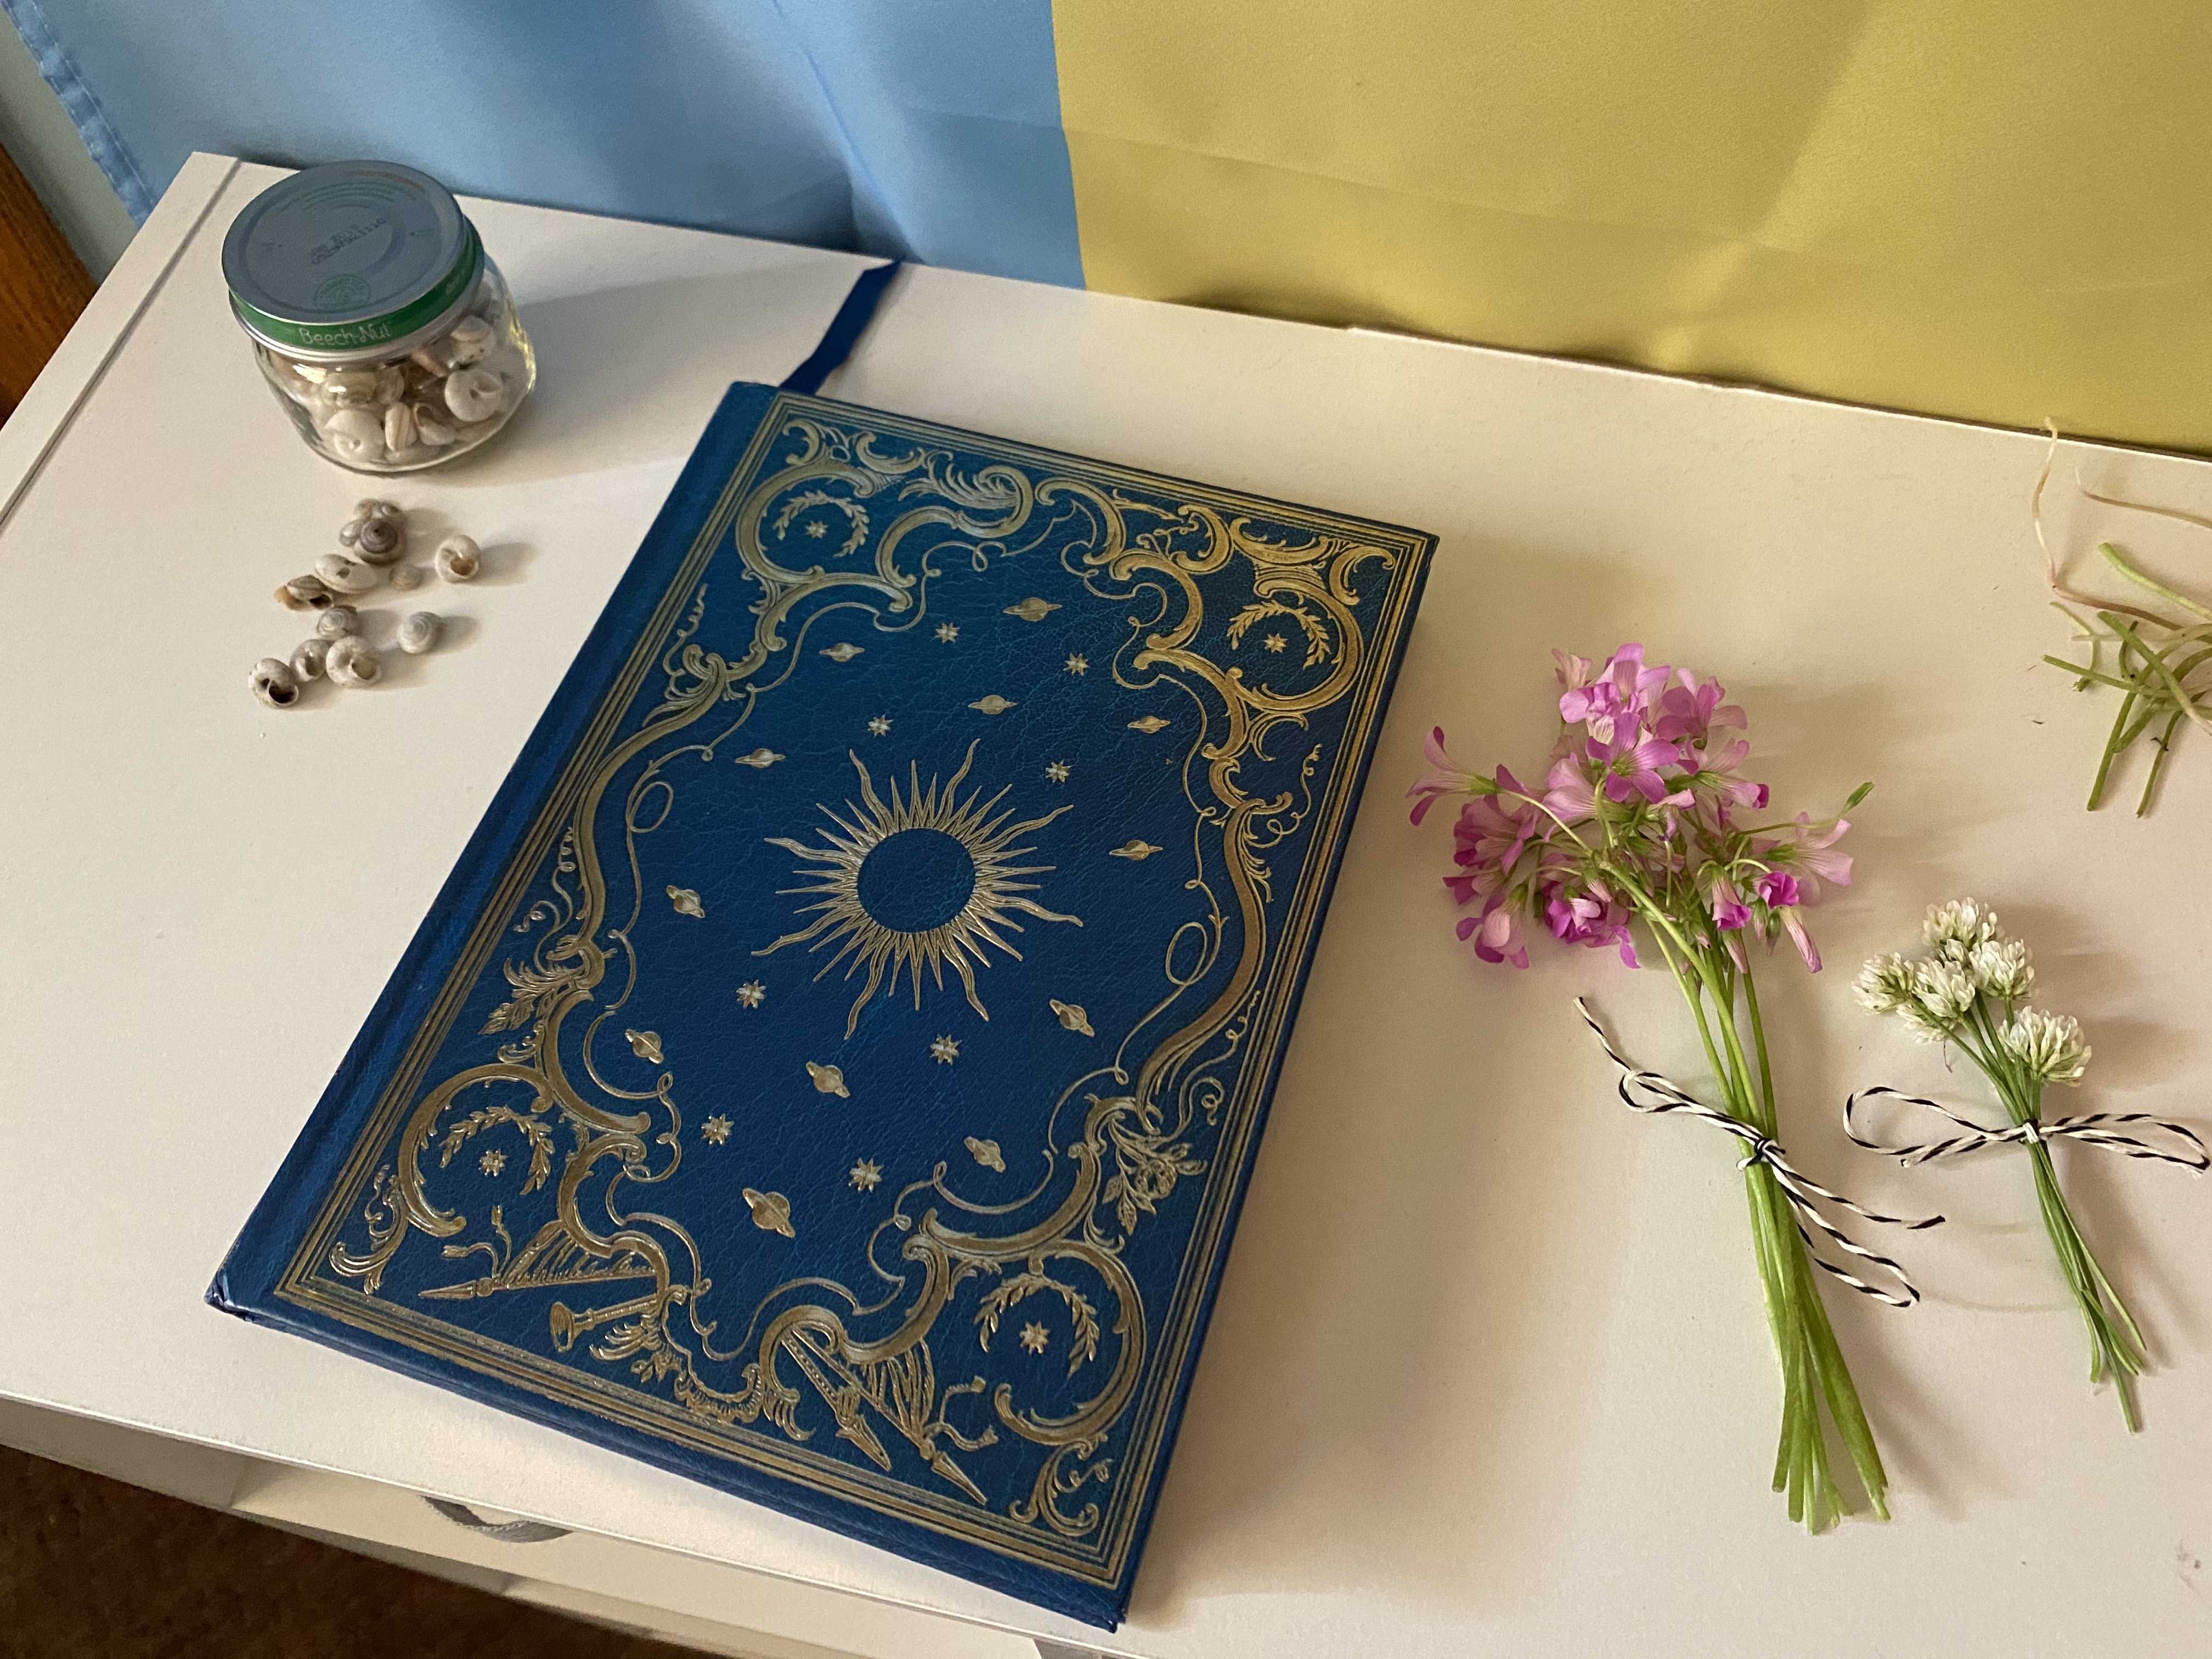
- Option 1: Pick flowers or plants, and place them in a book to dry. Frame them. Simple and beautiful.
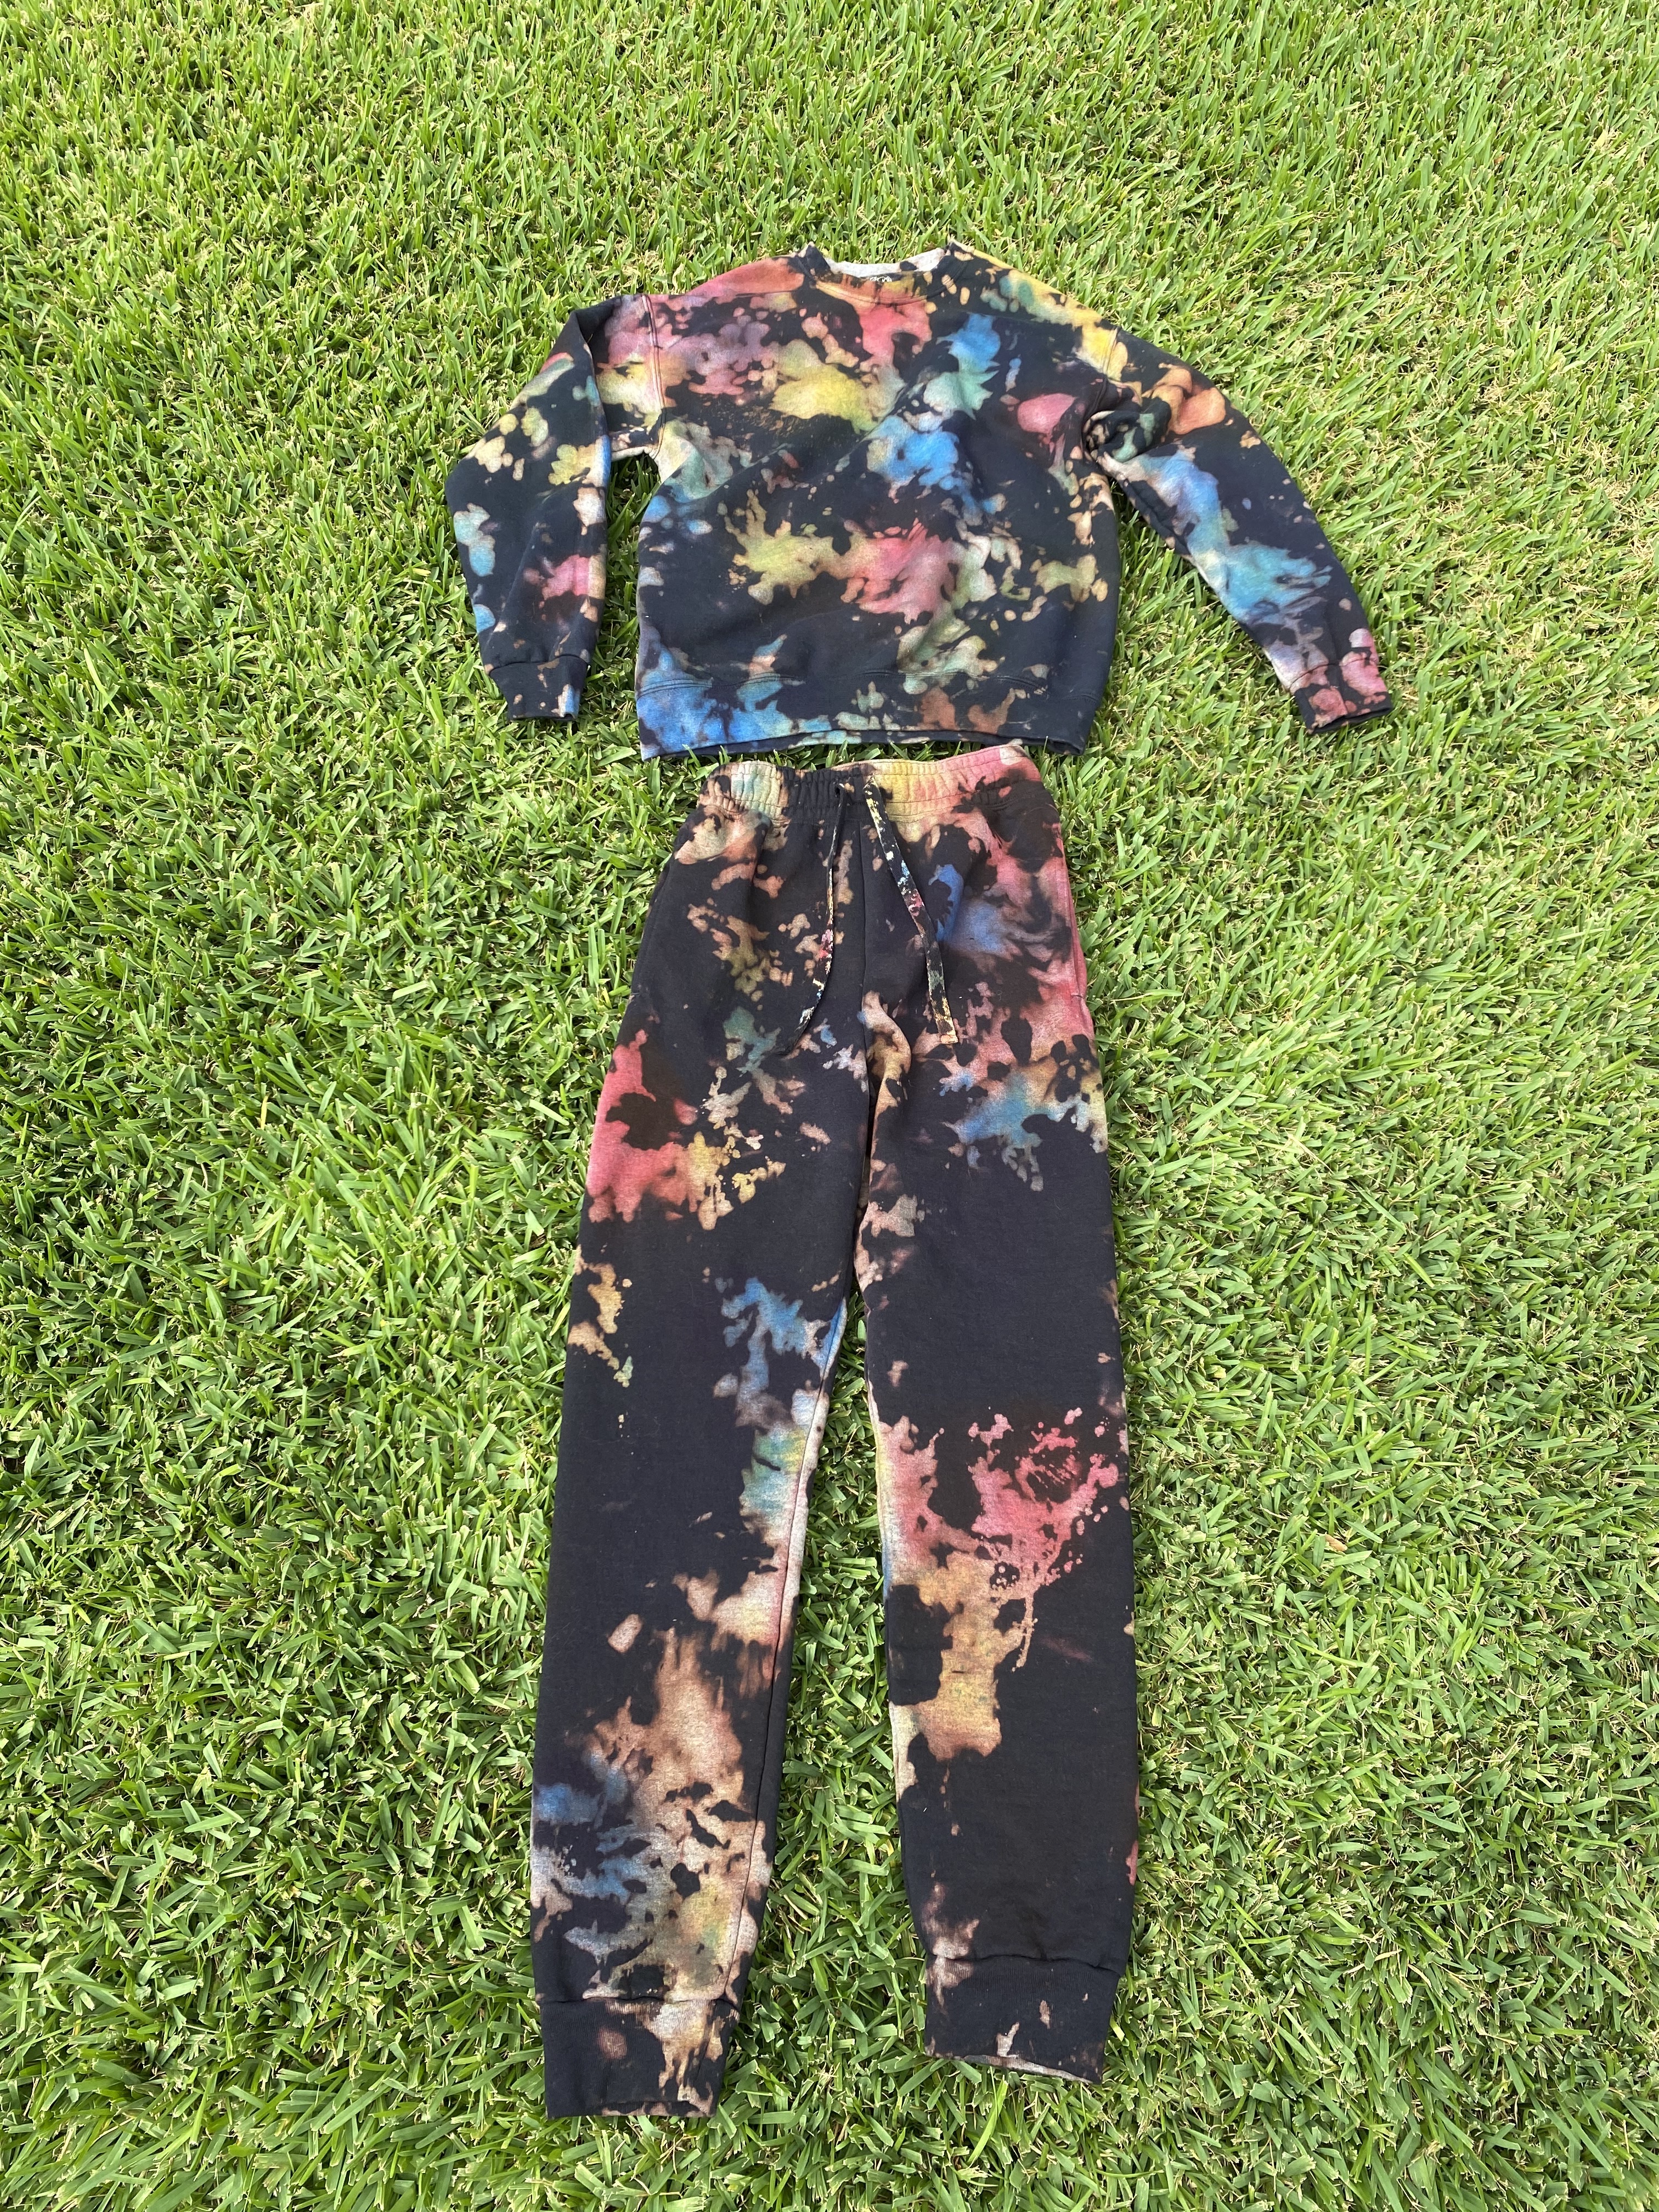
- Bleach & Tie Dye Clothes
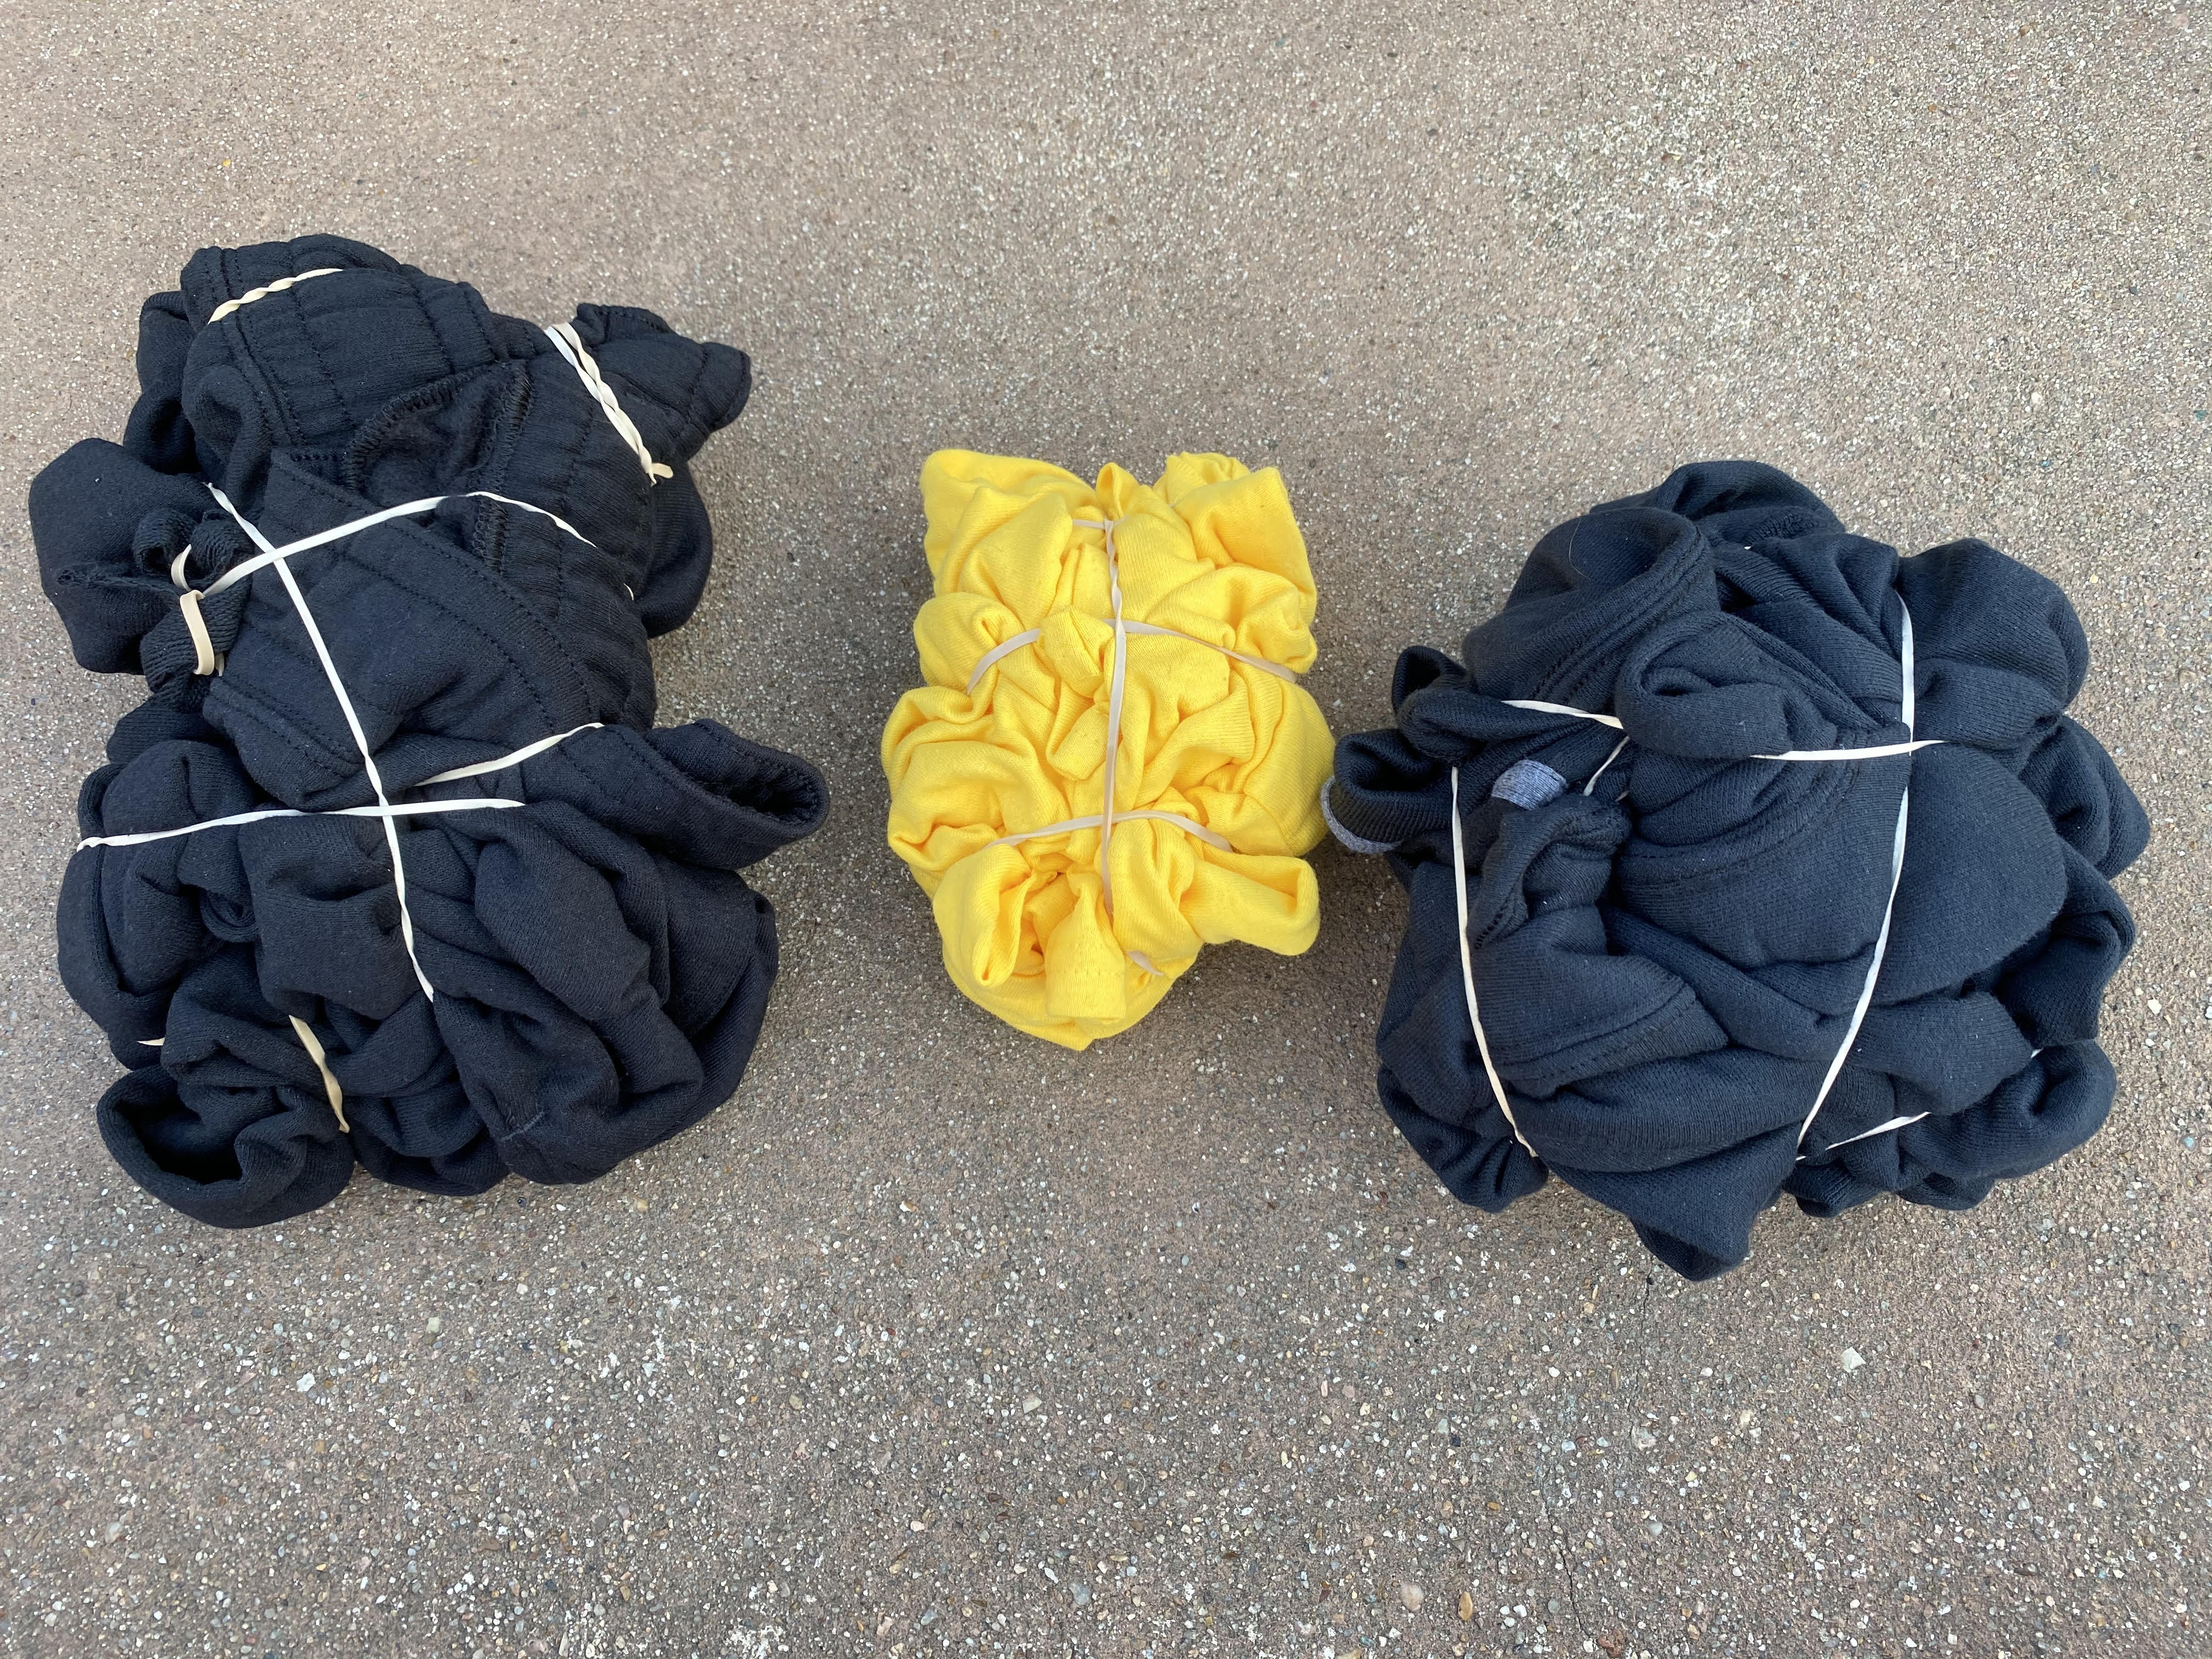
- Step 1: Get the supplies. You need bleach, a tie dye color set, rubber bands, squirt bottles, spray bottles (optional), and black clothes. If the clothes are bought new, wash it once beforehand.
- Step 2: Wet, bunch, and wrap the clothes. However you do this, it will impact the outcome of the design.
- Step 3: Squirt the bleach. I did this in my old bathtub. The bleach should be put in squirt bottles in order to easily apply it. If you don’t want the bleach to be as intense, feel free to dilute it with water.
- Step 4: Rinse and wash. This is to make sure the bleach is out completely.
- Step 5: Tie dye! I didn’t wet it again before doing this, so that might help. I don’t recommend spray bottles, but that’s what the tie dye colors came in. I had to put the clothes on a hanger since the spray bottles wouldn’t let me spray the clothes while they were in the tub. I promise the colors come off the tub easily with cleaner & Mr. Clean Magic Eraser, but you can do it outside instead.

- Step 6: Air dry then put in the dryer. This sets the colors. Enjoy your new clothes!
I know these may be self-explanatory DIY projects, but it reduces stress and responsibility to follow something step by step. Don’t be hard on yourself when it comes to your crafting skills, because you made this with love. Perfectly imperfect, just like you! Send pictures if you end up trying this out.
